Give each angle a job
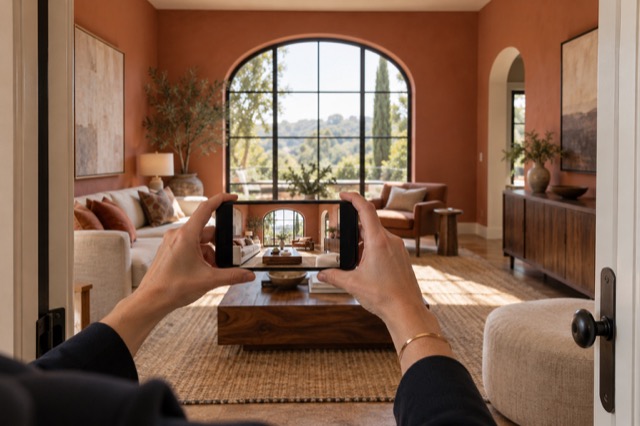
A wide view can explain the layout while a second angle shows the window wall or connection to the next room. You do not need five near-identical views to prove that a room exists. Start with the few photographs that help someone understand it, and let ShootEstate handle more of the photographic finish.
Capture the original views before worrying about decorative perfection. Keep the phone level and leave fixed features readable where you can. There is no need to buy matching accessories or physically restage the room for each shot. A useful source photograph provides information about the property; an edited image can then improve how that information is presented.
Look for the room’s recognizable details
Choose the treatment that fits the starting room
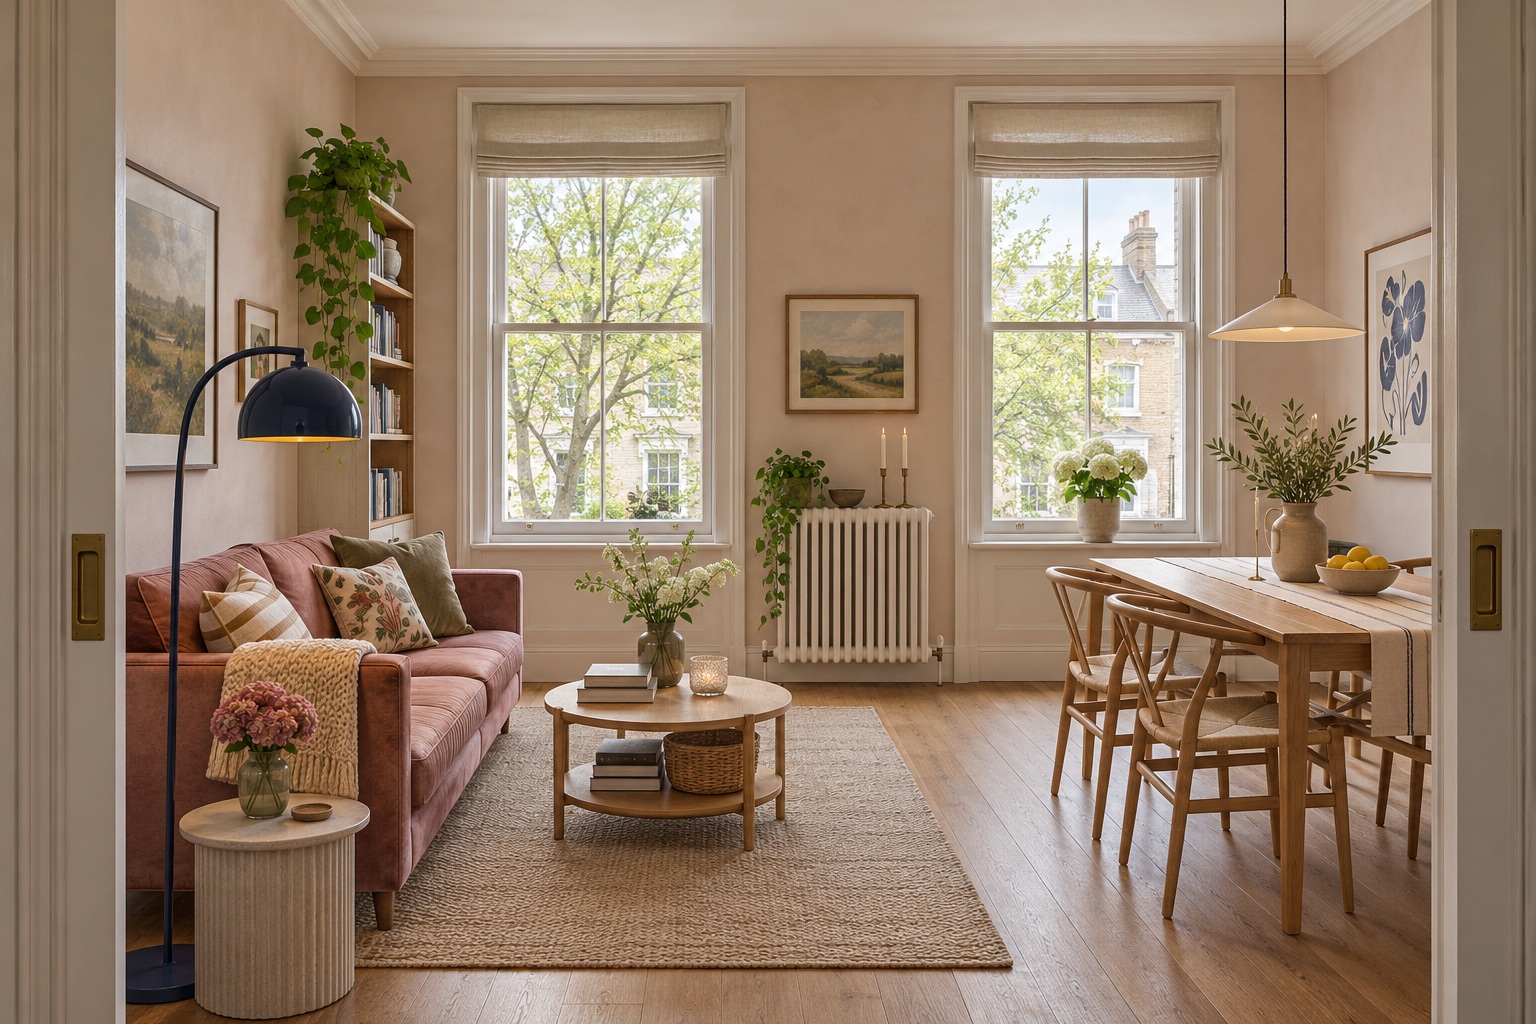
Use Tidy & polish when the existing furniture already communicates the space. It can remove people and loose everyday clutter, arrange bedding and improve light while retaining the furniture. That can reduce the distraction of lived-in surroundings without asking the seller to prepare a showroom.
Choose Virtually stage when you want to add or replace movable furnishings and decor. This creates a furnished presentation with instructions to preserve the property and credible scale. Treat each result as an image to review. The current workflow does not provide a furniture-lock control that guarantees identical virtual furniture and placement across separately edited angles.
Compare the images as a set
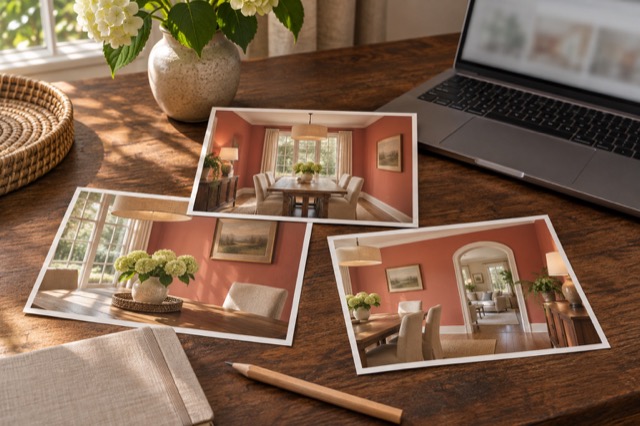
Start with the actual room. Check that windows, doors, fixed fixtures, flooring and the outside view remain recognizable in both selected photographs. A window that appears in one angle may be outside the other frame, so use your originals to distinguish a different viewpoint from an unintended edit.
Then compare the movable furnishings. Does the sofa have a compatible shape and position? Does a large table seem to occupy the same part of the room? Natural differences in perspective are expected. Conflicting furniture layouts, however, can make it hard to understand which presentation belongs to the space. Do not assume that two attractive individual results automatically form a coherent pair.
Resolve a mismatch without chasing endless edits
If one result is strong and only a small detail distracts, an eligible account can use Make a written tweak. Name the specific change and review the new version against the original. Check the displayed edit allowance before applying it: a written tweak creates another edited image and is intended for focused changes, not a guaranteed way to synchronize a room across photographs.
If the mismatch involves the entire furniture scheme, consider using one clear staged view and choosing a different complementary photograph that adds information. Another option is to retain the real furniture with Tidy & polish on the relevant angles. The right decision is the selection that explains the property clearly, rather than repeatedly generating images simply to fill the gallery.
Finish the gallery before downloading or sharing
Review the chosen images together in the listing gallery and arrange their order. Avoid placing two conflicting versions of the same room next to each other without explanation. Check that the description refers to actual property features and that virtual staging is disclosed through the appropriate workflow.
Once the set reads clearly, use the selected photo downloads or review it on your branded property page. If that page is already published, save your choices and use Update published listing before checking the public link. Downloads used on other channels need their own update. One deliberate gallery review can prevent the finished materials from telling several different stories about the same room.
Find your photo workflow
For Realtors · For Photographers
Explore Tidy & polish and virtual staging, or check current edit bundles.
Open your studio